***Update 9.28.16 #3 -- speed modeling***
walls


doors


windows


They are ugly, but I made them in 10 minutes! hahaha
***Update 9.28.16 #2 -- too much geo***

Hmmm... well I made another computer wall, but this one is waaayyyyy toooooo geeeeooooo heavy. I'm sure there is a way to fix it... I had better make some doors really quick though...
***Update 9.28.16 -- ZBrush workflow***

There was some good and some bad and some ugly when i brought in my Zbrush ZModeler computer terminal wall.
The good was that the different pieces came in as groups and colored groups, at that. That should make them very easy to uv and texture.

The bad was that the scale TIIIINNNY compared to the reference pieces. Also, there was some degenerate piece that came from Zbrush that I couldn't actually figure out how to delete. As you can see, i fixed everything more or less.
First I normalized the scale of the object, then I matched the scale (in X) to the reference wall. Then I had to do a little bit of manual tweaking to get the object to sit just properly on the construction plane.

The ugly was that i had some nasty pinching along the edge of my geometry. I figure that's just because I am not so good at Zbrush right now. I will see if i can do a couple more and get the geometry a little better.

***Update 9.27.16 #5***

I tried something a little bit different for this wall piece. I tried using the Zmodeler brush in Zbrush. I am a complete ZBrush novice, so this is a bit crude right now. You can see, again, my inspiration was from 2300 AD Chrono Trigger. I will probably make a couple of variations of this and refine it, but this is my basic attempt.
I have an idea to make a hologram sprite effect in Houdini. So when you activate the computer panel, a hologram will pop out of it. It will just play as a sprite effect in Unreal so hopefully it will look cool for no performance hit.
I have an idea to make a hologram sprite effect in Houdini. So when you activate the computer panel, a hologram will pop out of it. It will just play as a sprite effect in Unreal so hopefully it will look cool for no performance hit.
***Update 9.27.16 #4***
So, i made some railings. they are not quite right, but at least it is something. They are instanced along the catwalk procedurally; so, i can tweak them later.
Spaceman can still jump on top of them... also they make the catwalk feel even less dangerous.. i need to fix that. gotta make some doors and junk, tho...

The view from overhead reminds me that I am not so fond of the default camera. (it's not that it is bad, but it is sooooo generic). I would like to have a 3/4 overhead view similar to The Legend Of Zelda: A Link Between Worlds.
I remember The Tower of Hera was especially good from that game. If you skip ahead in this video, there is a part where Link is outside the Tower on moving platforms far above Death Mountain. It is really awesome in 3D.
***Update 9.27.16 #3***

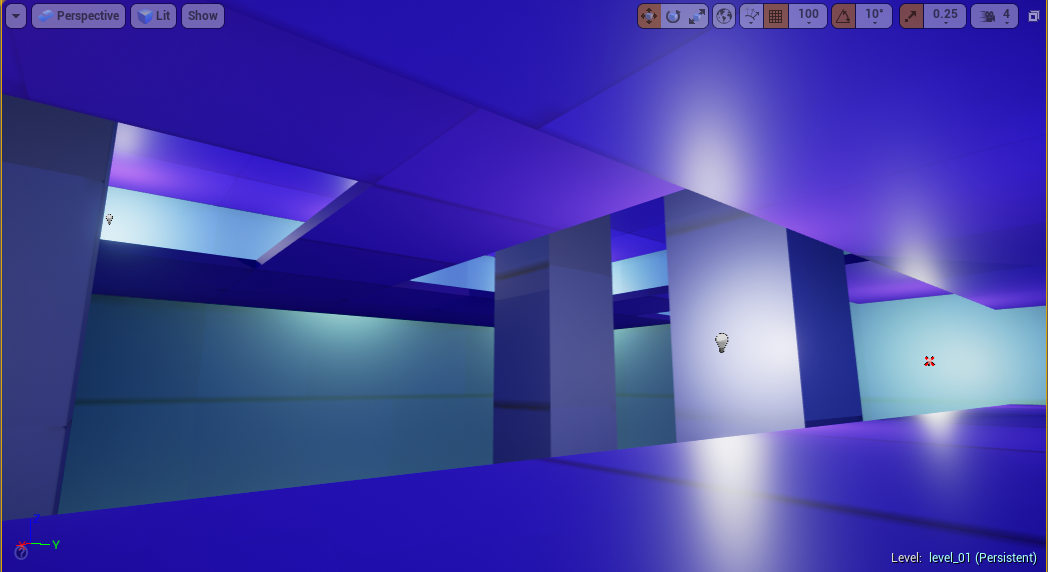
The original size of my level was feeling a bit small. I tried making the level a bit bigger (which was as easy as moving a slider.) The catwalk updated accordingly, which was great. However, I noticed that the catwalk placement was just so that Spaceman could jump right over the gaps. That kind of defeats the purpose of having a maze...
Another thing I noticed is that everytime I increase the size of the level, the lighting begins to feel inadequate. I need to figure out if I can do procedural placement of the lights...
Ok, actually i need to finish doing this weeks assignment... I will work on that now. I swear!
Another thing I noticed is that everytime I increase the size of the level, the lighting begins to feel inadequate. I need to figure out if I can do procedural placement of the lights...
Ok, actually i need to finish doing this weeks assignment... I will work on that now. I swear!
***Update 9.27.16 #2***

Here is Spaceman walking on the catwalk. Right now, the catwalk is procedurally generated points that have modular pieces instanced on each point. The catwalk will scale with the size of the level. I will also (maybe?) instance balcony pieces around the edges next. Also, i need to have the columns cut through the maze.
I feel like the catwalk is too low though, it needs to be much higher in order to feel scary. Also, I wonder if maybe the modular pieces are too large for the catwalk. Maybe I will cut them into quarter sections for the catwalk section. I am not sure about that yet.
***Update 9.27.16***
Back in Houdini again. Since the 2nd level from the reference photo looked like a catwalk to me, i thought about having it be a little maze. I was thinking something kind of inspired by the part in Chrono Trigger where you have to chase the mouse along the rigging in 2300 AD.
...actually, everything I ever do is at least partly based on Chrono Trigger.
***Update 9.26.16 #2***

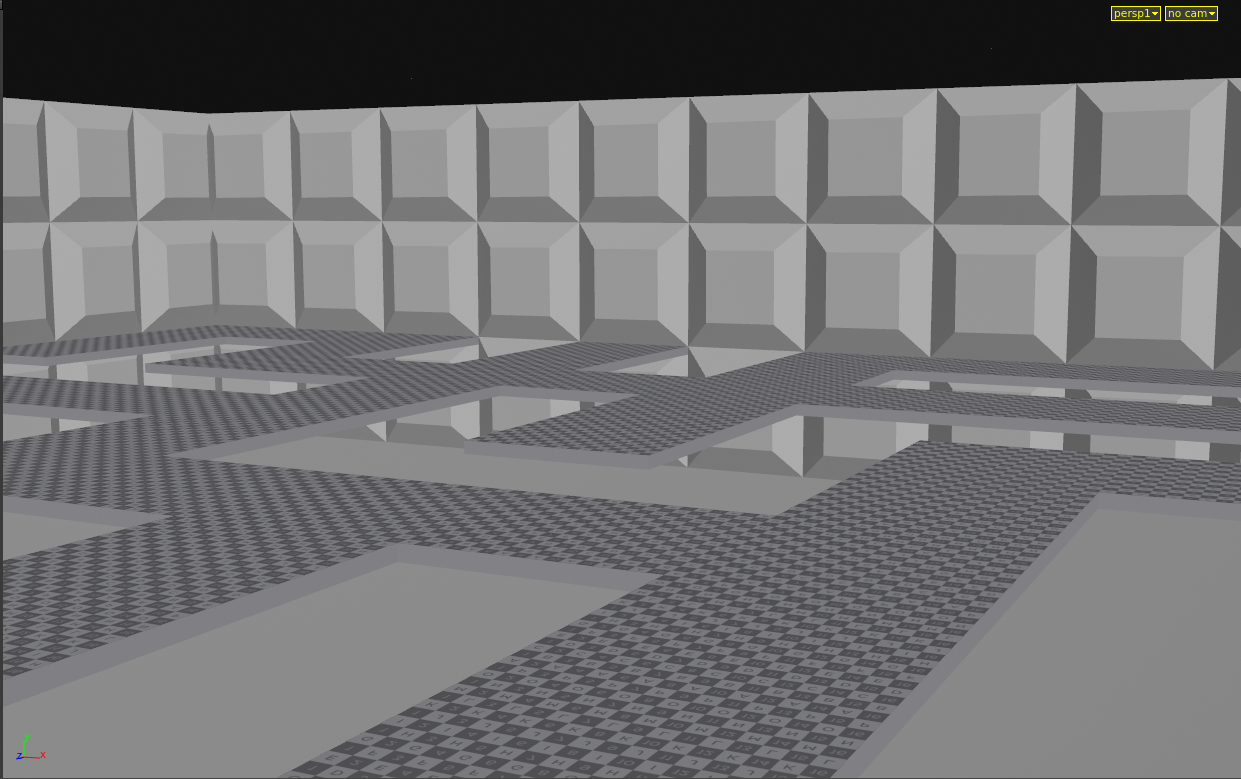
I made my first modular wall piece. I didn't exactly base it on Halo 4... (I know, I'm terrible...) can you guess what game was my inspiration for this wall module? (I will keep you in suspense for a while)
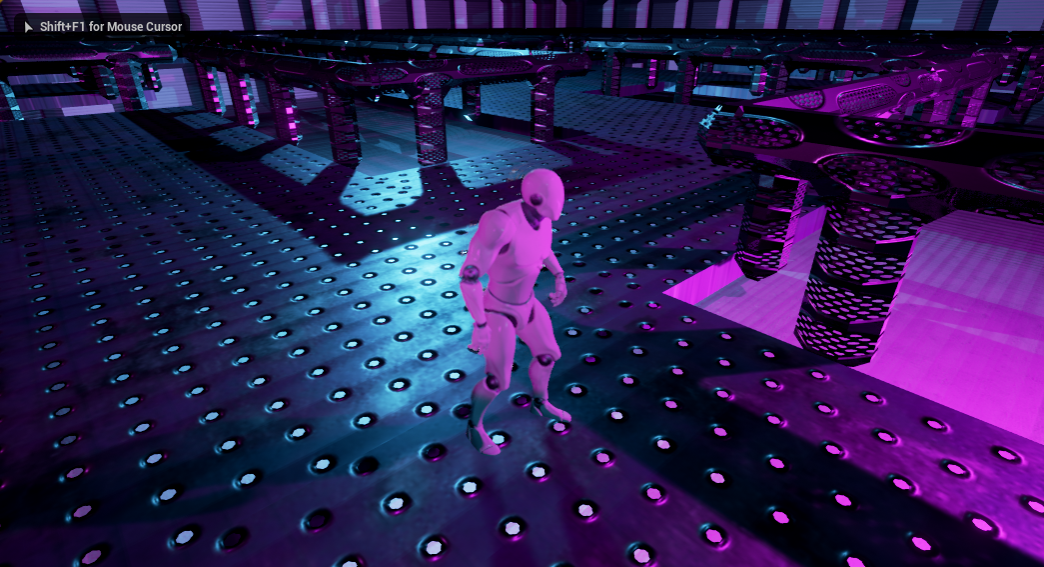
Oh, and look! My spaceman is actually standing on top of the floor. I fixed the collision on my Houdini tool!
Oh, and look! My spaceman is actually standing on top of the floor. I fixed the collision on my Houdini tool!
Speaking of which... space man has GOT TO GO! I'm sick of looking at him! He is not making me happy. Spaceman, your days are numbered!
***Update 9.26.16***

Ok, i know i need to get to building some wall pieces, but i did a little more hacking in houdini instead. Procedural textures are nice. they are looking a little bit better. (although the UVs need work). Also, i still need to figure out collision Geo.
another thing I was thinking is just building the level off a square grid is boring. I was thinking of was to build a grid with an arbitrary shape. I think i could poly-expand a curve. and make the grid to instance geometry by subdividing the expanded curve using a bricker polygon algorithm. That would (theoretically) allow you to draw out an arbitray shape for the room from within Unreal.
another thing I was thinking is just building the level off a square grid is boring. I was thinking of was to build a grid with an arbitrary shape. I think i could poly-expand a curve. and make the grid to instance geometry by subdividing the expanded curve using a bricker polygon algorithm. That would (theoretically) allow you to draw out an arbitray shape for the room from within Unreal.
After lunch i will model some doors and wall pieces!
***Original Post***
I am still hacking at my procedural level design tool. I would like to develop a fully-procedural level tool for instancing the modular geometry by the end of the class.i got the grids to line up for the floors and walls, and i also got substance files working for the textures, which is nice. I envision a workflow that uses Houdini assets and substances to build up the level in Unreal.
The main problem i have right now is getting the collision geometry to build correctly.